Sometimes the smartest home solutions are not expensive, complicated, or hidden behind professional equipment. Sometimes they are simple maintenance habits that people overlook for years—until someone older and wiser points them out.
One practical home tip that has recently gained attention is a simple method for cleaning a dryer vent more thoroughly. It may not sound exciting at first, but this small task can make a major difference in home safety, energy efficiency, appliance performance, and long-term personal finance.
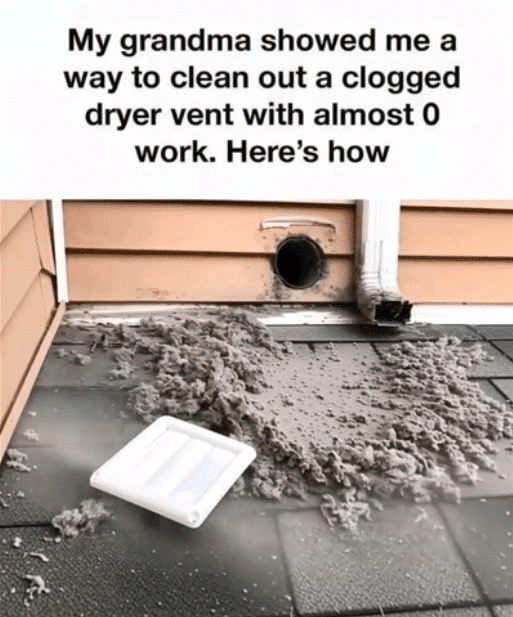
Many homeowners clean the lint trap after each load of laundry, assuming that is enough. While that is an important habit, it does not remove all the lint that builds up inside the dryer vent system. Over time, lint can collect deep inside the ductwork, restricting airflow and forcing the dryer to work harder.
That hidden buildup can create several problems. Clothes may take longer to dry. Utility bills may increase. The dryer may overheat. Repairs may become more frequent. In the worst cases, a clogged dryer vent can become a serious fire risk.
That is why this simple cleaning method is worth knowing.
The Hidden Problem Behind the Dryer
Most people only see the lint trap, but a dryer’s airflow system extends far beyond that small screen. Warm air, moisture, and lint travel from the dryer through a vent hose and out of the home. Even when the lint trap is cleaned regularly, tiny fibers can still pass through and collect inside the vent.
At first, the buildup may seem minor. But over months or years, it can become thick enough to block airflow. When that happens, the dryer has to run longer to do the same job.
That means higher electricity or gas costs, more wear on the appliance, and a greater chance of overheating. For homeowners focused on smart budgeting, insurance protection, and long-term savings, dryer vent maintenance is a simple way to reduce avoidable risk.
A dryer is not a cheap appliance to replace. Preventing damage through routine cleaning can help protect your investment and avoid unnecessary repair bills.
What You Need for the Cleaning Method
This practical method uses a few basic tools that many households already have:
A vacuum cleaner with a hose attachment
A flexible dryer vent brush
A leaf blower, used carefully and only when appropriate
Gloves and a flashlight
A screwdriver, if needed to remove the vent cover
Before starting, safety comes first. Always unplug the dryer. If the dryer uses gas, turn off the gas supply before moving or disconnecting anything. If you are unsure how to safely handle a gas dryer, contact a qualified professional instead.
This is especially important because saving money is never worth risking your safety, damaging the appliance, or creating a home insurance issue.
Step 1: Move the Dryer and Inspect the Area
Carefully pull the dryer away from the wall. Dryer vents are often located in tight spaces, so move slowly to avoid damaging the hose or scratching the floor.
Once you can see behind the appliance, inspect the vent hose and surrounding area. Many homeowners are surprised by how much dust, lint, and debris collect behind the dryer.
Use a flashlight to check for obvious blockages, crushed ducting, or loose connections. If the vent hose is damaged, torn, or badly bent, it may need to be replaced.
Step 2: Vacuum the Surface Lint
Use the vacuum hose to remove lint from the back of the dryer, the floor, and the area around the vent opening. This step alone can make a noticeable difference.
Even if the lint trap is cleaned after every load, lint can escape and collect in places most people rarely check. Removing this buildup helps reduce dust, improve airflow, and keep the laundry area cleaner.
Step 3: Use a Flexible Vent Brush
Next, insert a flexible dryer vent brush into the duct. Slowly rotate and move it through the vent to loosen lint stuck along the walls.
This step is important because lint often clings to the inside of the ductwork. A vacuum may remove loose debris near the opening, but a brush can reach deeper into the system.
After brushing, vacuum again to remove anything that has been loosened.
Step 4: The Leaf Blower Trick
The part that surprises many people is the use of a leaf blower.
Go outside and locate the dryer vent exit. Remove the exterior cover if it is safe and easy to do. Then, with the dryer disconnected and the vent path clear, carefully use a leaf blower to push air through the duct and force remaining lint out through the exterior opening.
This can help clear lint that the vacuum and brush did not reach.
However, this step should be done carefully. Do not use a leaf blower if the vent is damaged, extremely long, shared with another system, blocked by animals or nesting material, or difficult to access. If lint does not come out easily or airflow still seems weak, call a professional dryer vent cleaning service.
For homes with complex vent systems, professional cleaning may be the safer and smarter option.
Step 5: Reconnect and Test the Dryer
After cleaning, reconnect the vent hose securely. Make sure it is not crushed or sharply bent when you move the dryer back into place. Air must be able to flow freely.
Plug the dryer back in and run a short test cycle. Go outside to check whether air is flowing strongly from the vent exit.
If airflow feels stronger and the dryer runs more efficiently, the cleaning likely helped. Over the next few loads, you may notice clothes drying faster and the dryer producing less excess heat.
Why This Tip Can Save Money
Dryer vent cleaning is not just about safety. It can also support better financial habits at home.
When a dryer vent is clogged, drying times increase. Longer cycles mean higher energy bills. The dryer motor and heating system also work harder, which may shorten the life of the appliance.
Routine cleaning can help reduce electricity or gas usage, lower the risk of repairs, extend appliance lifespan, and protect your home from avoidable damage. For homeowners managing mortgages, insurance, utility bills, real estate upkeep, and personal finance goals, small maintenance habits like this can add up over time.
A few minutes of prevention can help avoid expensive problems later.
Final Thoughts
This simple dryer vent cleaning method is a reminder that smart home care does not always require costly upgrades. Sometimes, the best solutions are practical, affordable, and passed down through experience.
Cleaning your dryer vent may not seem like a major task, but it can improve safety, reduce energy waste, and help protect one of the most-used appliances in the home.
A clean vent means better airflow, faster drying, lower utility costs, and greater peace of mind.
Sometimes the smartest ideas are the ones that make you say, “Why didn’t I think of that sooner?”